
Refrigerator Photo Frame and Magnet
Made from Recycled Takeout Container Lids
What you need:
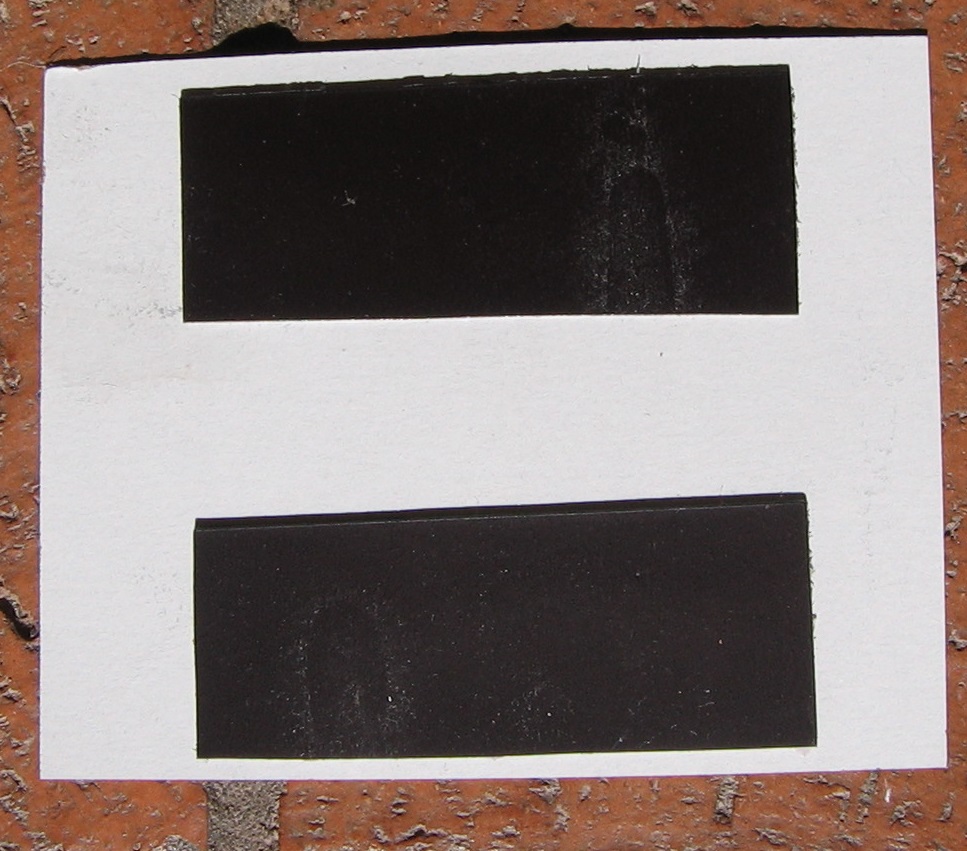
2 rectangular takeout container lids – the ones used here have a silver finish on one side and rounded corners, and are 8 ½ x 6 ¼ inches in size.
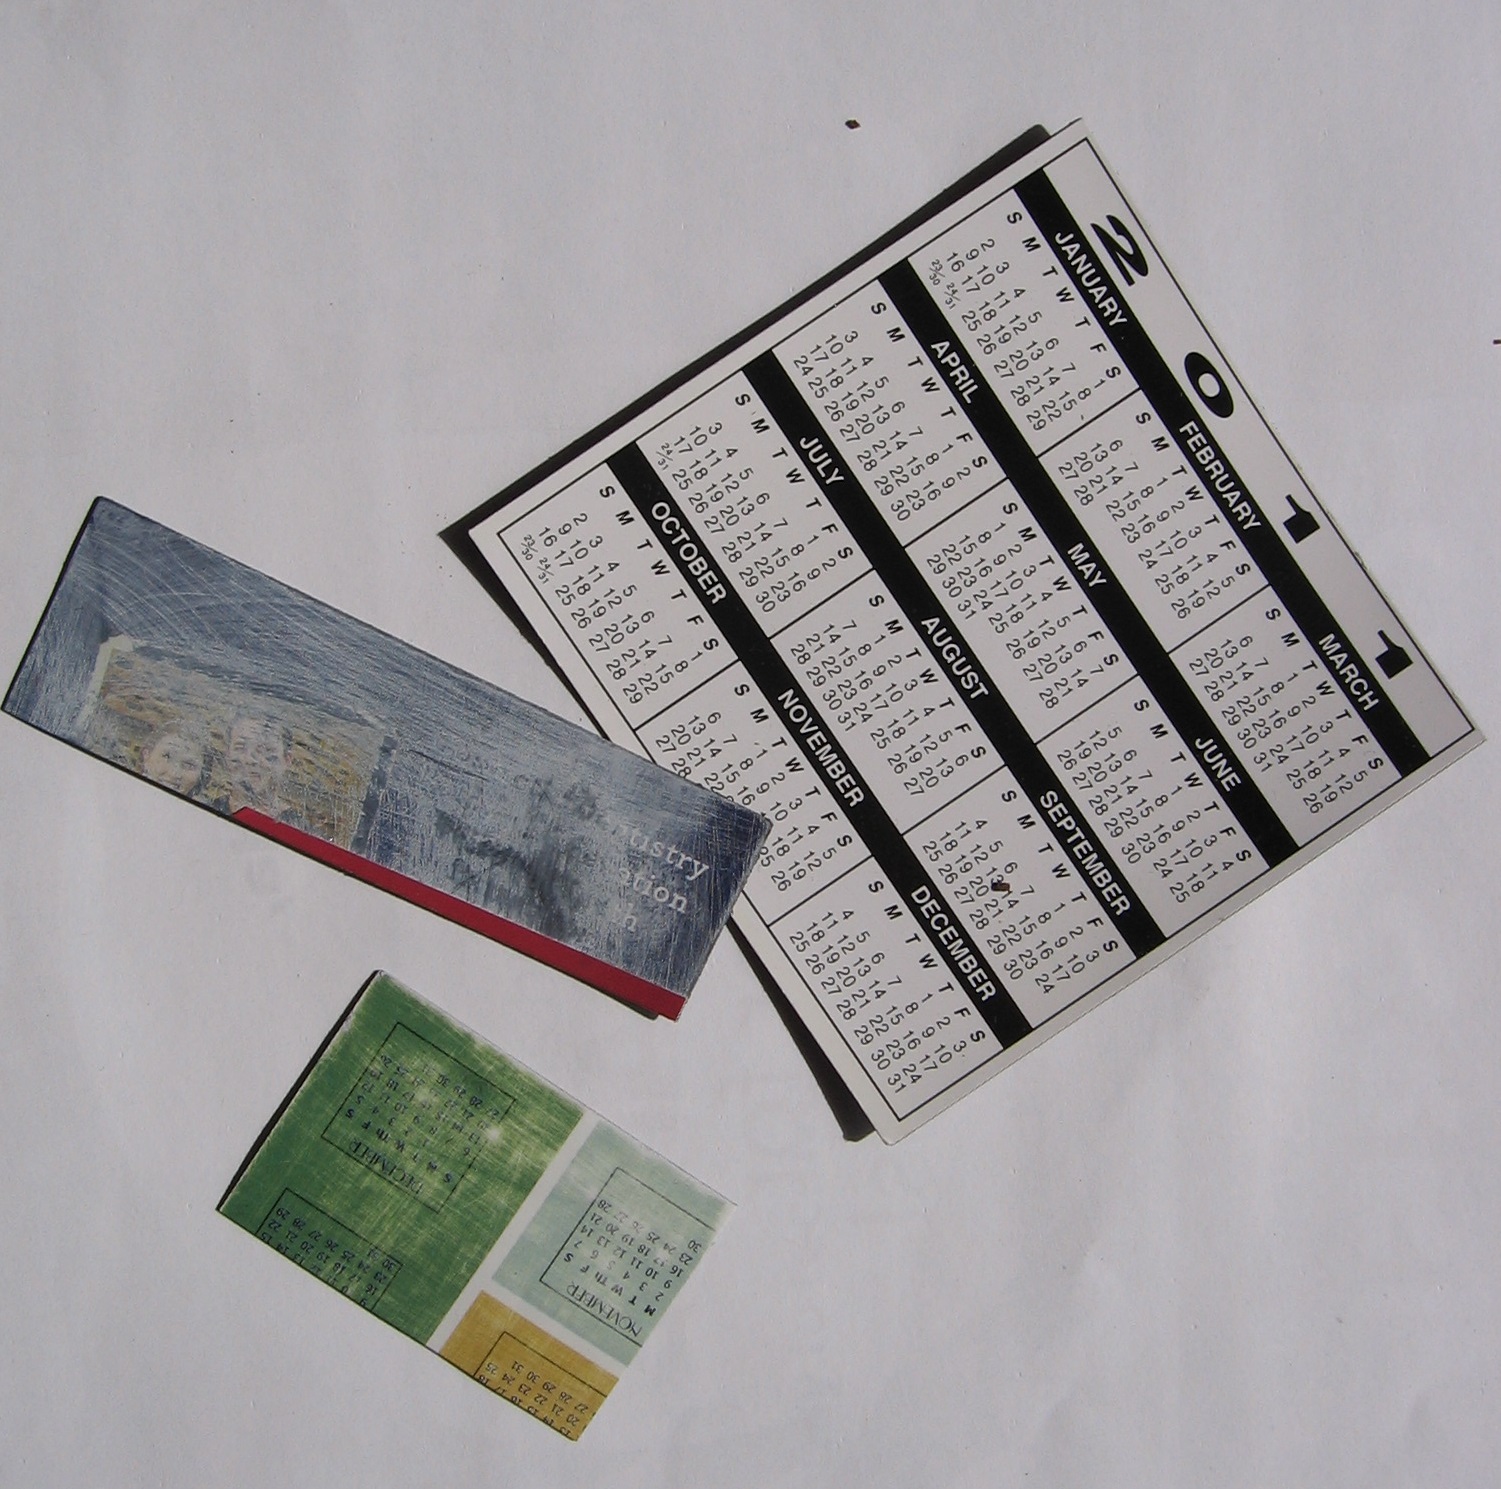
Thin, magnetic sheets, like the magnets often attached to the front of phone books
Scissors or wallpaper cutter, a ruler
Pencil, pen or marker
Glue stick or school glue
Small piece of sandpaper or a nail file
Embellishments such as paper or foam stickers, pictures that you’ve drawn or cut out of
magazines or cards, sequins, etc.
A photo, or photos, to put inside the frame. This project allows you to change out the photo.
What to do:
1) Turn one of the lids (what will be the front of the frame) upside down so that the non-silver side is up. Center your photo and draw around it. Measure inside the box you have just drawn about 1/8th inch or so all around and draw this smaller box.
2) Cut out the inner, smaller box. If you can, use the cutter and a ruler on a good cutting surface like a cutting board, to carefully cut out the small box. Save this to make the magnet (see Step 7 below). If you need to use scissors, use the tips to cut a small hole near the corner of the inner box and then cut around the outline. Or have an adult start a hole for you. Try to save as much of the inner box intact as possible. Check to see if your photo looks good by placing it behind the box you just cut out. If not, do some trimming.
3) On the long side of the other lid (the back of the frame), cut out a small half circle. This will help in inserting or removing your photo.
4) Place the silver side of the back of the frame face up and put glue around the very outer edges, except for most of the side with the half circle cut-out. Leave room so you can insert your photo. Place the front of the frame, silver side up, onto the back of the frame and hold it down until glue has set.
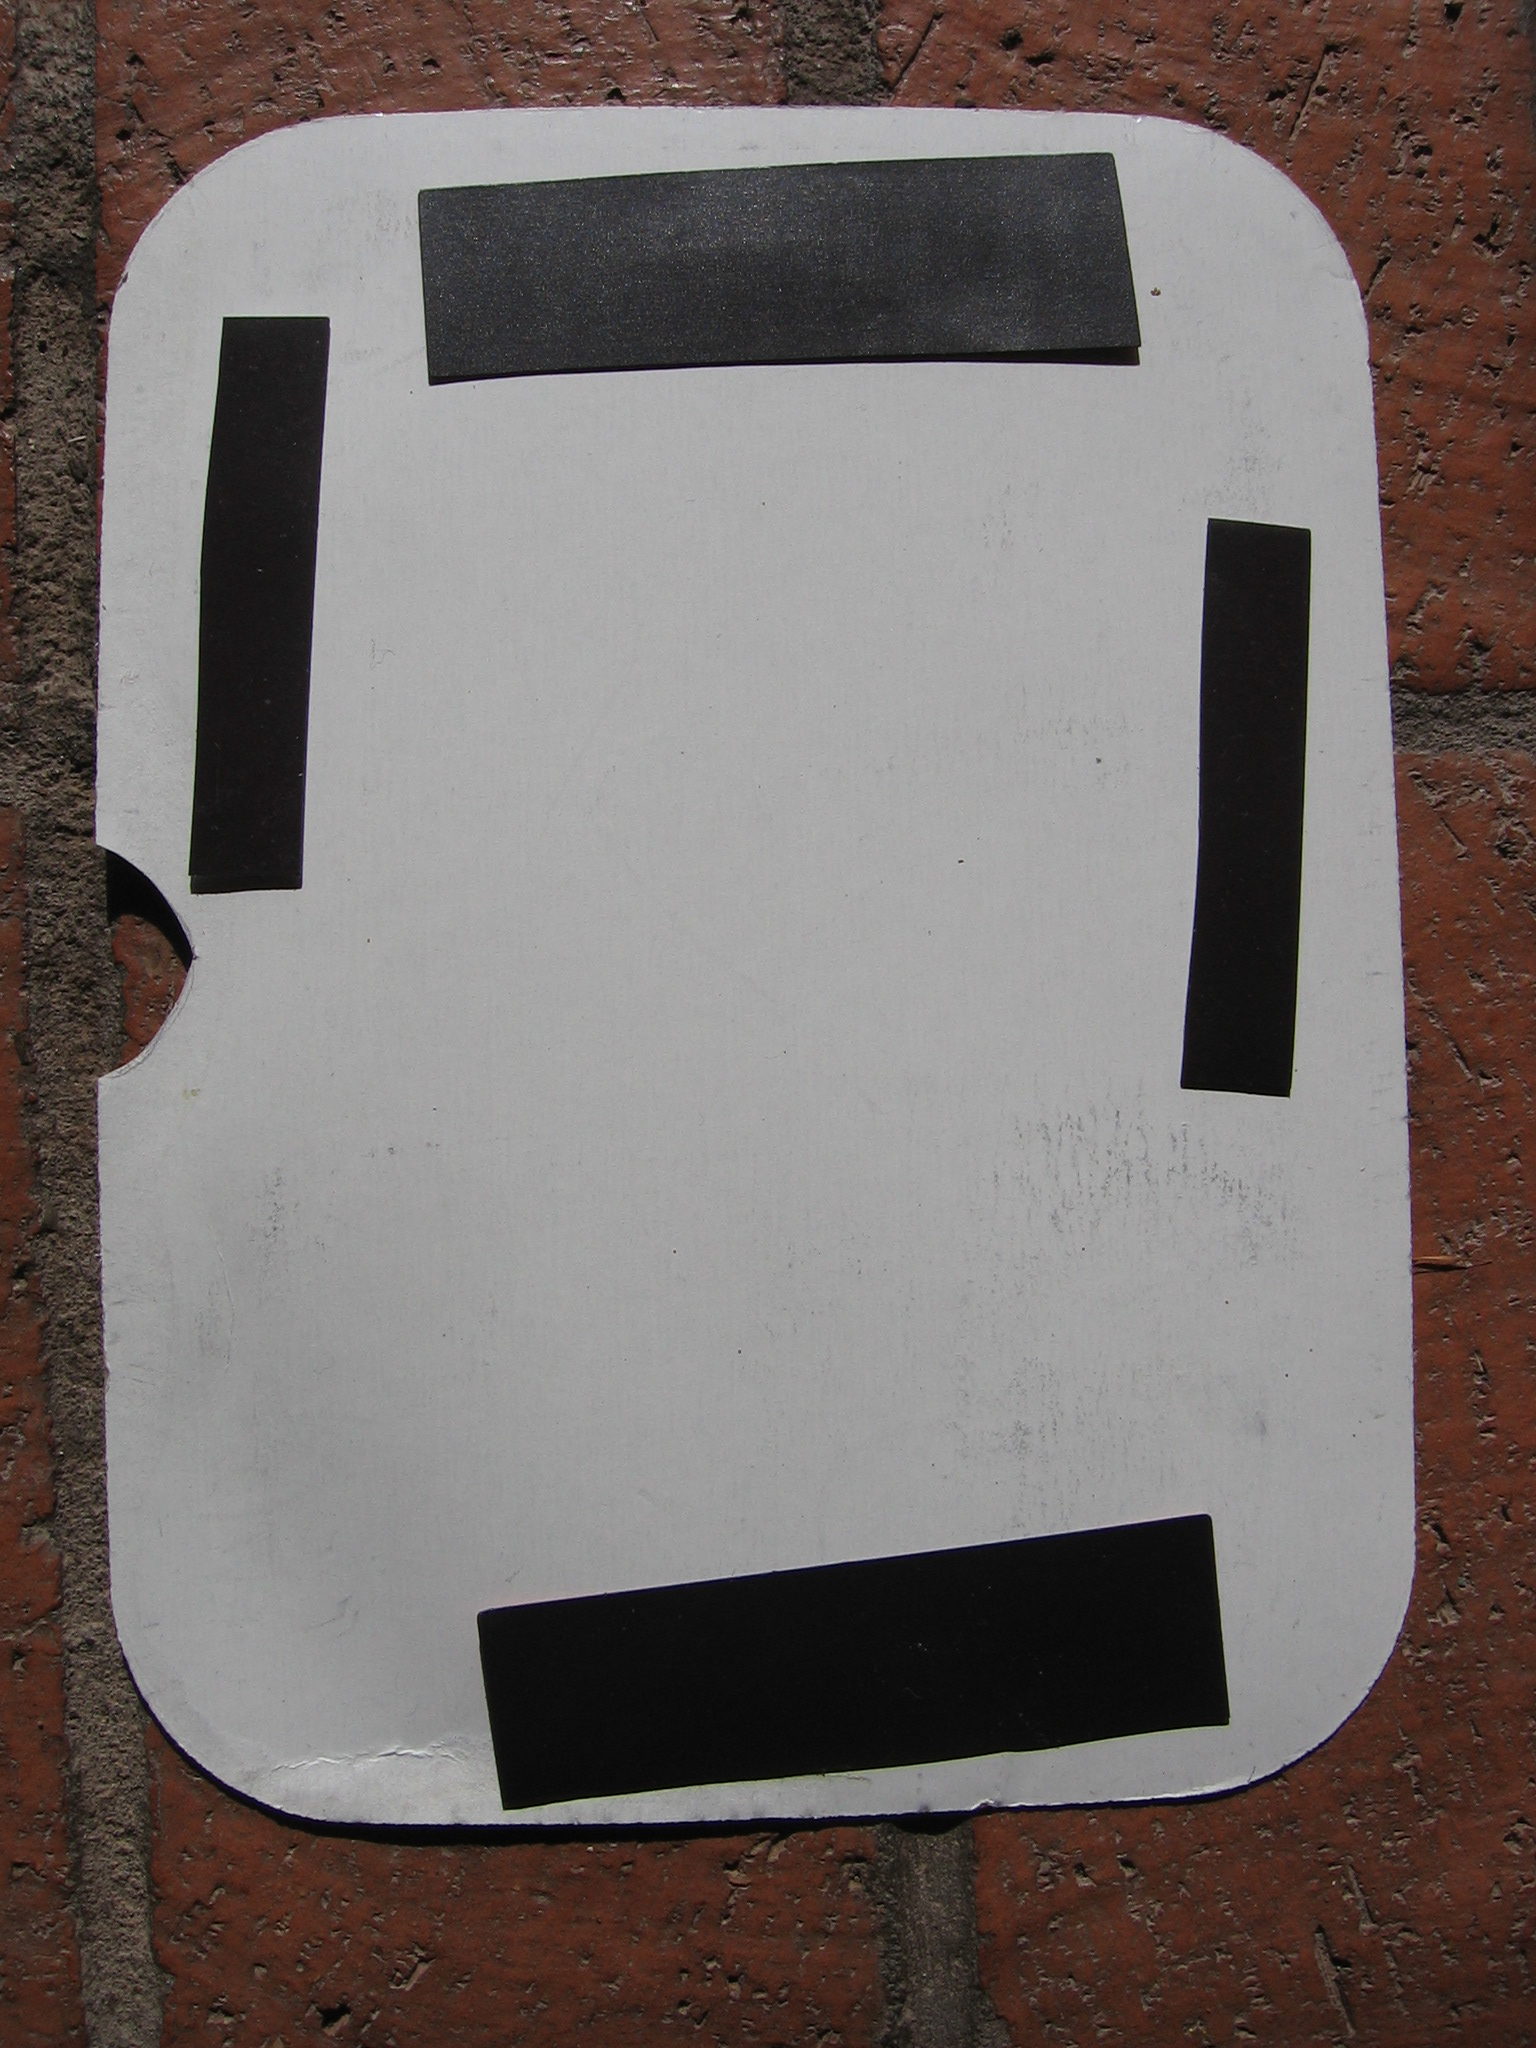
5) Lightly sand or file a magnetic sheet so glue will stick to it. Wipe off. Cut the sheets into strips and glue them around the back side of the frame. Be sure you glue the correct side to the frame. Check which side of the strip sticks to the refrigerator and glue the other side to the frame.
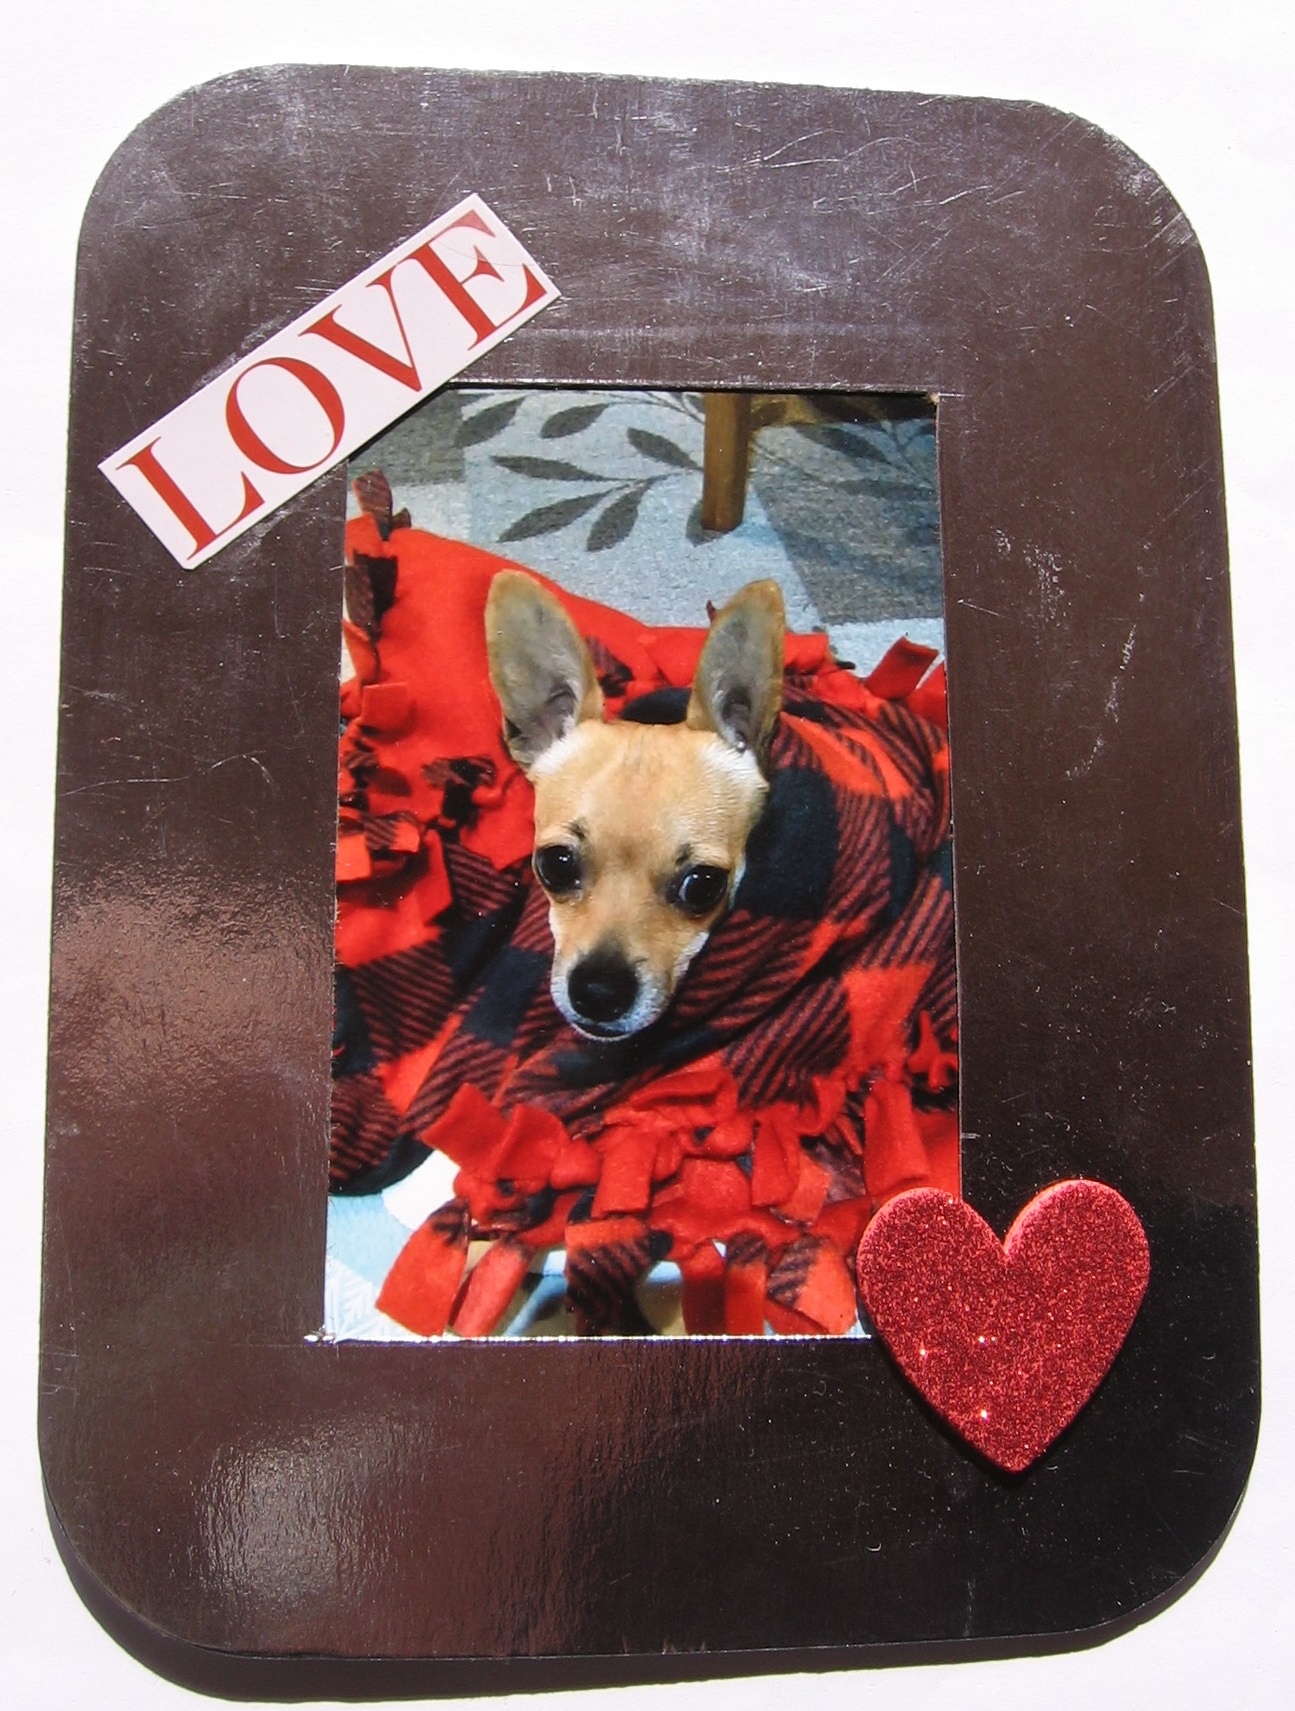
6) Decorate the front of the frame with your embellishments. Use only lightweight embellishments so the magnetic strips will hold the frame to the refrigerator. Insert your photo.
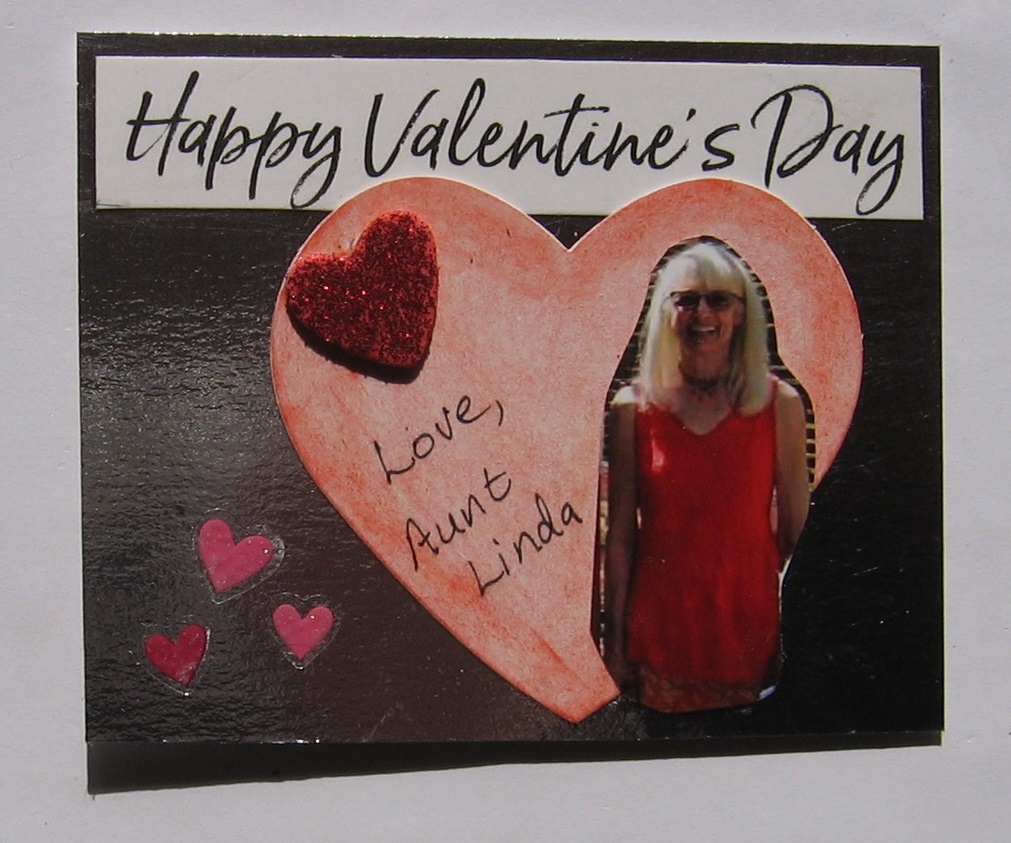
7) To make a magnet from the cut-out piece of the front of the frame, trim the edges to be neat or decorative. Glue a pic, decorations or a message to the front. You can cut up old greeting cards for this. Glue magnetic strips to the back.
MCRC can provide supplies like lids and magnets—call 505.722.5142
or email betsywindisch@yahoo.com